
Discover the secret to enhancing online conversion rates and amplifying ecommerce sales through the strategic utilization of social proof popups. If you’re seeking to unlock your ecommerce sales potential and escalate shopping cart values, this article is tailored just for you. The crux of a successful social proof popup approach lies in the meticulous design, frequency settings, and trigger mechanisms. Careful selection and moderation are key as an excessive or irrelevant display of popups may backfire. By leveraging social proof popups effectively, you can instill a fear of missing out (FOMO) and create a sense of urgency among your online audience, compelling them to take the desired actions. Whether your goal is to boost ecommerce sales, drive event registrations, or increase signups, integrating social proof popups into your online marketing strategy is paramount for sustained growth in conversions.
Social proof revolves around the notion that individuals are more inclined to make a purchase when they observe others doing the same or when a product is perceived as popular. Witnessing prior purchases or perceiving popularity can significantly influence the decision-making process of consumers. Social proof, or informational social influence, dictates that individuals tend to mirror the actions of others in a bid to conform to what is deemed correct or suitable behavior. This phenomenon is ubiquitous in various spheres of life, ranging from online product reviews and celebrity endorsements to everyday scenarios like strangers exchanging smiles in an elevator. For marketers and businesses, harnessing social proof can serve as a potent tool to augment sales figures and bolster brand reputation.
If you have a Shopify store and you want to show the latest conversion notifications or the conversions count of certain products that you are selling on your Shopify store, then this is the guide for you. Connecting Shopify with WebsitesToolz to display conversion notifications is a straightforward process which does not involve any coding for you. We use a very easy and simple to configure method called Webhooks.
What are Webhooks?
A webhook (also called a web callback or HTTP push API) is a way for an app to provide other applications with real-time information. A webhook delivers data to other applications as it happens, meaning you get data immediately. Unlike typical APIs where you would need to poll for data very frequently in order to get it real-time. This makes webhooks much more efficient for both provider and consumer. Now that we know what a webhook is lets get started.
What outcome do we want?
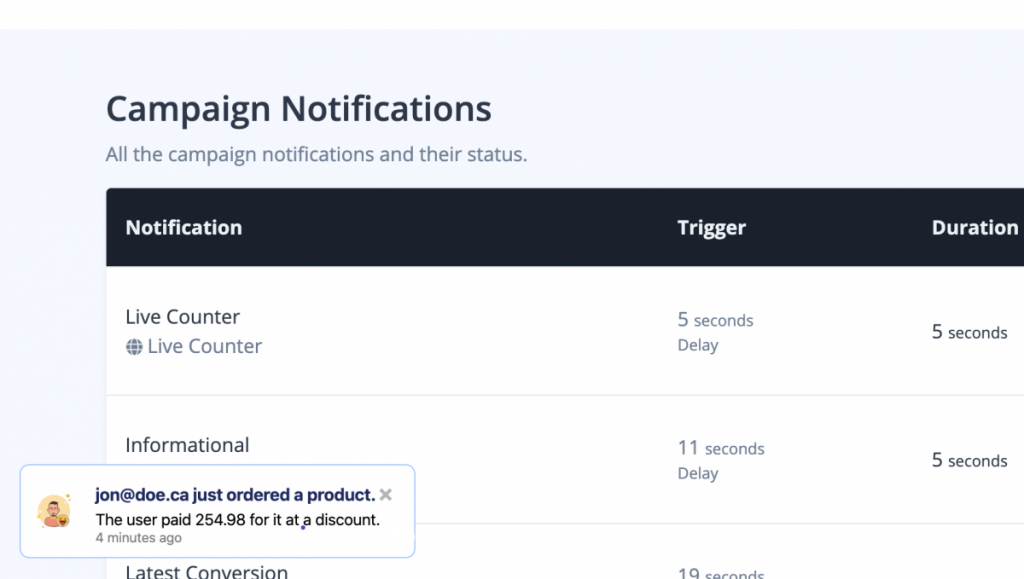
Lets understand the workflow first. Find below detailed steps to configure an example conversion notification as displayed below.
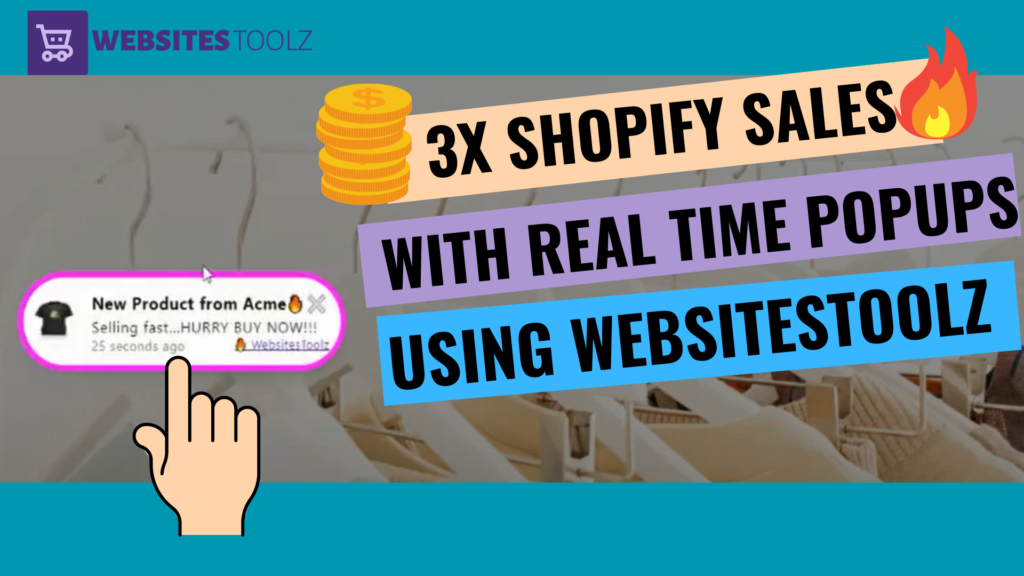
Maximize Your Store’s Impact: Real-Time Popups Made Easy with WebsitesToolz on Shopify. Step by Step Guide.
- A Shopify order is completed/paid for.
- Shopify sends a “message” to WebsitesToolz with the details of the order.
- Websitestoolz receives, parses and stores the “message” from Shopify.
Now the Notification created with WebsitesToolz will show the latest conversion that happened on your Shopify store. This is what the final notification would look like as shown in the image above.
Lets get started..
Firstly, you need to complete the steps below.
You have WebsitesToolz account created.
You created your campaign for your website.
Enabled the same and installed the pixel code on your website.
You have an active Shopify store account.
Steps to add WebsitesToolz pixel code to your Shopify store:
You can add websitestoolz pixel code to your shopify store in just a few easy steps as follows.
If you are not familiar with adding code seek advice from your web developer.
a. Login to your Shopify admin.
b. Go to Online Store > Themes
c. In the Current theme section, click Actions, and select Edit code.
d. Click the theme.liquid file to open the code editor
e. Add your websitestoolz pixel code on the next line just after the <head >tag
f. Click Save and your done.
How to set it up.
For this guide, we are using the WebsitesToolz demo notification installation and a demo Shopify store. If you prefer a youtube video explainer of the steps below watch the video below.
Create WebsitesToolz notification.
Go to the campaign that you have enabled
Click the Create Notification button after selecting the type as “Latest Conversion” and submit
Fill out the Title of your new notification, description and other input fields.
Complete all the sections for that notification customize, triggers, display.
Make sure that the notification is Enabled!
Configure Shopify
Make sure that you are logged into your Shopify store account.
From the Shopify admin page, go to Settings and then access Notifications.

Scroll down to the Webhooks section and then, click the Create webhook button.

Now open the latest conversion notification created in the WebsitesToolz dashboard, and click on the Data under Settings in the left sidebar. Now copy the webhook trigger url, Now go to the Shopify store tab and paste this webhook trigger URL in the URL input field. If you face any difficulty copy and paste this URL in note pad and then copy and paste from notepad.

In your Websitestoolz notification data section activate the toggle ON to auto capture data. Also make sure to toggle ON this notification in the notification title right on top of the dashboard.

Befor you save the webhook, you need to input other fields in the popup as below.
You now need to define the Event of the Webhook by selecting from the drop down menu.
On completion of what event should Shopify trigger the execution of the webhook.
In this eaxmple, I selected “Order payment” because we want to track the latest order payments with WebsitesToolz.
Now make sure to select the Format to JSON on the popup, leave Webhook API version default input as it is and click Save webhook.
Your screen should like this:

Now that you have this webhook set up, lets also test it out.
Click on the Send test notification button now next to the webhook created on your shopify account. Now, if we go back to the Notification created on WebsitesToolz and access the Data section on top of the notification next to Statistics, we will see something like this:

Now as you can see in the image above there is a new “Conversion” registered in the data section of the notification you created on WebsitesToolz.
If you click on Click to Expand you will be able to see details and the caught variables for this test notification trigerred from your shopify store. Now you can use this list of variables to customise the conversion title and or conversion description of this notification. This way you can create a stream of notifications repeating the above steps and choosing a different event to show different notifications using different sets of variables. So now when a real transaction takes place on your shopify store the data corresponding to the variables you added in the title and description of the popup notification will show up.
So simple and easy, no coding. Just automate your notifications and let your customers notifications do all the selling.

Now, you can go to the Settings of the notification created on WebsitesToolz and configure your notification as you’d like.
This is an example of how I have configured it:

You can see above that the Notification Title is using the {email} variable from the conversion notification data captured in the screenshot above and also that the notification description is using the {total_price} variable. Here is the final result, just like we wanted: For many more examples sign up to our help desk to access our knowledge base and regular updates. The image is a default of the notification. You could paste an image URL for your product in the Image URL input field for this notification created in Websitestoolz and click update. For a more detailed guide on how to configure variables click here to access our knowledge base. If you are creating a conversions counter notification click here for step by step guide.

. Great! our test notifcation as configured above is showing on our shopify store as you can see above in the bottom left corner popup. This way you can choose any pre defined variable from the data captured and create conversions that matter to your audience thereby boosting conversions and driving sales on on your shopify, woocommerce or any other ecommerce, online store using WebsitesToolz. Finally you can view the analytics for each and every campaign as well as statistics of each and every notification created under any campaign with WebsitesToolz. If you found this post usefull please subscribe and share.
Pingback: 6 Best wordpress ecommerce plugins to build your online store | Blog
Pingback: 12 Best social proof popups to instantly boost sales 3X | WebsitesToolz
Pingback: 20 brands using customer experience to boost online sales. | WebsitesToolz
Pingback: Top 5 Shopify store builder apps to grow your business. | WebsitesToolz
Pingback: 10 Quick Tips How Big Brands Use Social Proof |Blog |WebsitesToolz
Pingback: How to boost ecommerce sales using SMS marketing. | WebsitesToolz
Pingback: BigCommerce vs Shopify how to choose the right platform. | WebsitesToolz
Pingback: How to setup and launch your ecommerce business. | WebsitesToolz
Pingback: Top 5 Ways to reduce your Shopify cart abandonment rate. | WebsitesToolz